

Hey there! As a supplier of ink coding machines, I often get asked about how to refill the ink in these machines. It's a crucial part of keeping your coding machine running smoothly and ensuring that your products are labeled accurately. So, in this blog post, I'm gonna walk you through the process step by step.
Why Refilling Ink is Important
First off, let's talk about why it's so important to refill the ink in your ink coding machine. A well - filled ink system ensures clear and legible codes on your products. Whether you're coding expiration dates, batch numbers, or barcodes, clear codes are essential for compliance and customer trust. If the ink runs low, the codes may become faint or incomplete, which can lead to issues with product identification and even regulatory problems.
What You'll Need
Before you start the refilling process, you'll need to gather a few things:
- Ink cartridges: Make sure you have the right type of ink cartridges for your specific ink coding machine. Using the wrong ink can damage the machine and affect the quality of the codes.
- Cleaning materials: You'll need some lint - free wipes and a cleaning solution recommended by the machine manufacturer. This is to clean any spills or residue around the ink reservoir.
- Safety gear: Gloves and safety glasses are a must. Ink can be messy and may cause skin or eye irritation, so it's better to be safe than sorry.
Step 1: Prepare the Machine
The first step is to turn off the ink coding machine and unplug it from the power source. This is a basic safety precaution to prevent any electrical accidents. Once the machine is off, let it cool down for a few minutes if it was recently in use.
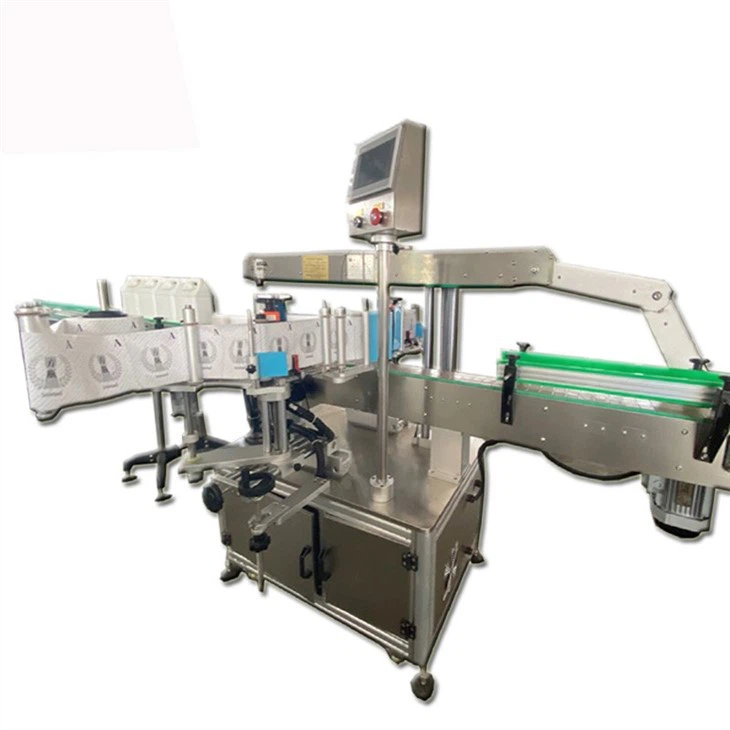

Next, locate the ink reservoir. In most ink coding machines, the ink reservoir is clearly marked and easily accessible. Some machines may have a cover or a door that you need to open to access the reservoir.
Step 2: Remove the Old Cartridge
If your machine uses cartridges, carefully remove the old ink cartridge. Some cartridges are held in place by clips or latches. Gently release these and pull the cartridge out. Be careful not to spill any ink during this process. If there's any ink on the cartridge or around the reservoir, use a lint - free wipe and the cleaning solution to clean it up.
Step 3: Insert the New Cartridge
Take your new ink cartridge out of its packaging. Make sure it's the right type and that it's sealed properly. Align the cartridge with the slot in the ink reservoir. Some cartridges have a specific orientation, so follow the markings or instructions on the machine.
Gently push the cartridge into the slot until it clicks into place. This indicates that it's properly installed. If you're using a refillable ink system, you'll need to fill the reservoir directly. Use a funnel to pour the ink slowly into the reservoir, being careful not to overfill it.
Step 4: Prime the Ink System
After inserting the new cartridge or filling the reservoir, you'll need to prime the ink system. Priming helps to get the ink flowing through the machine and ensures that the nozzles are properly filled.
Most ink coding machines have a priming function. You can usually find this in the machine's control panel. Follow the on - screen instructions to start the priming process. It may take a few minutes for the ink to reach the nozzles and for the system to be fully primed.
Step 5: Test the Machine
Once the priming is done, it's time to test the machine. Print a test code on a piece of scrap material. Check the quality of the code. It should be clear, sharp, and evenly printed. If the code looks faint or uneven, there may be an issue with the ink flow or the nozzles.
You can try running the priming process again or cleaning the nozzles. If the problem persists, it may be a good idea to contact our technical support team for further assistance.
Troubleshooting Tips
- Ink not flowing: If the ink isn't flowing properly, check if the cartridge is installed correctly. You may also need to clean the nozzles. Some machines have a nozzle cleaning function that you can use.
- Leaking ink: If you notice ink leaking from the machine, turn it off immediately. Check the cartridge for any damage or improper installation. Clean up the spilled ink and make sure the seals are in good condition.
Other Related Products
If you're in the market for other packaging and labeling equipment, we also offer a range of high - quality machines. For example, our Single - sided Self - adhesive Labeling Machine is perfect for applying labels to one side of your products. It's easy to operate and can significantly improve your labeling efficiency.
And if you need to label both sides of your products, our Double - sided Self - adhesive Labeling Machine is a great choice. It offers precise and consistent labeling results.
Conclusion
Refilling the ink in an ink coding machine isn't as complicated as it may seem. By following these steps and taking the necessary precautions, you can keep your machine running smoothly and ensure high - quality coding on your products.
If you have any questions about ink refilling, our machines, or if you're interested in purchasing our products, don't hesitate to reach out. We're here to help you with all your coding and labeling needs. Contact us to start a procurement discussion and find the best solutions for your business.
References
- Manufacturer's manual of the ink coding machine
- Industry best practices for ink coding machine maintenance